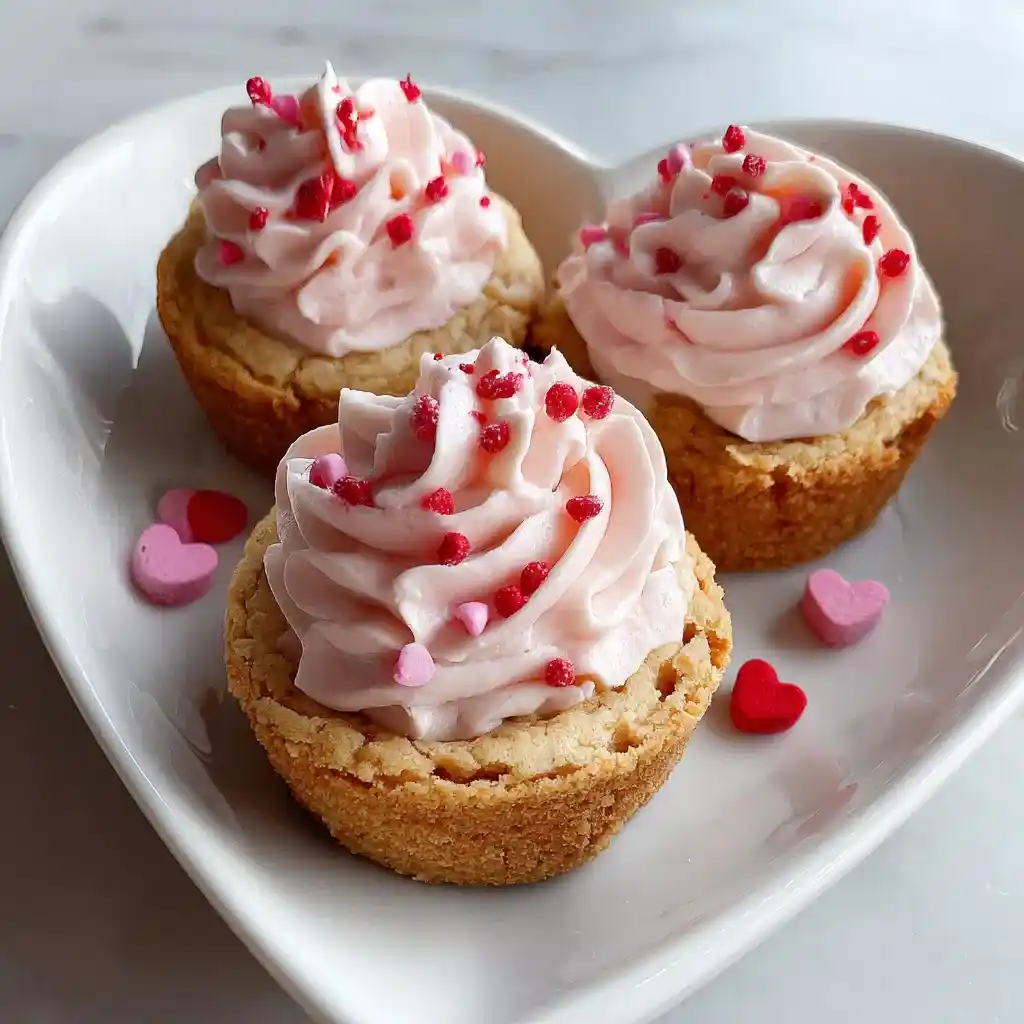
Let’s be honest, Valentine’s Day baking can feel like a lot of pressure for one heart-shaped holiday. That’s exactly why I keep coming back to Valentine Sugar Cookie Cups. They’re ridiculously easy, they look adorable, and nobody has to know how little effort actually went into them.
Servings: 24 mini cookie cups Prep time: 10 minutes Bake time: 12–14 minutes Total time: About 45 minutes, including cooling
That’s less time than it takes to pick a Valentine’s Day card that isn’t cheesy.
Why Valentine Sugar Cookie Cups Are the Move This Year
I love a recipe that looks impressive but barely asks anything of me, and this one delivers exactly that. Store-bought cookie dough does the heavy lifting, while frosting and sprinkles handle the festive part. Have you ever needed a last-minute Valentine’s treat that still looks like you tried? This is it.
A few reasons this recipe keeps earning a spot on my counter every February:
- Semi-homemade shortcuts that save real time
- A soft, buttery cookie base everyone recognizes and loves
- Endless ways to customize with frosting and toppings
- Perfectly portioned for parties, gifts, or lunchboxes
What You’ll Need
I appreciate a recipe with a short ingredient list, and this one barely counts as baking, IMO. Grab these three items and you’re basically done shopping:
- sugar cookie dough, 1 package
- vanilla frosting, 1 jar
- sprinkles for topping
Three ingredients, zero stress. That’s the whole point of a semi-homemade treat like this one.
Let’s Make Valentine Sugar Cookie Cups, Step by Step
I know three ingredients sound almost too simple, but a few small details make a real difference here. Follow along closely, especially with the cooling time, since rushing that step causes melty frosting disasters.
Step 1: Preheat the Oven and Prep Your Pan
Preheat your oven to 350°F before doing anything else with the dough. Lightly spray a mini muffin pan with non-stick cooking spray, making sure to coat every well. This small step keeps your cookie cups from sticking once they’re baked and cooled.
Step 2: Break Apart the Cookie Dough
Break the sugar cookie dough apart into individual squares or portions, following whatever shape it came packaged in. Place one square into each well of your prepared mini muffin pan. Don’t press it down flat yet, since it naturally spreads and puffs as it bakes.
Step 3: Bake Until Golden Brown
Slide the muffin pan into your preheated oven and bake for 12 to 14 minutes. Watch for the edges turning a light golden brown, which signals they’re ready to come out. Every oven runs a little differently, so start checking around the 11-minute mark just in case.
Step 4: Create the Cup Shape While Warm
As soon as the cookie cups come out of the oven, they’ll look puffy and rounded on top. If needed, gently press the center of each warm cookie with the back of a small spoon or a shot glass. This creates that signature well shape perfect for holding frosting later.
Step 5: Let Them Cool Completely
Allow the cookie cups to cool in the pan for 20 to 30 minutes before touching them further. Rushing this step is basically asking for melted frosting and a sticky mess. Patience here genuinely makes the difference between a clean-looking treat and a sad puddle.
Step 6: Remove the Cups from the Pan
Once fully cooled, gently run a small knife or offset spatula around the edges of each cookie cup. Lift them out carefully so the delicate edges don’t crack or crumble. Set them on a flat tray or plate, ready for frosting.
Step 7: Pipe the Vanilla Frosting
Spoon the vanilla frosting into a piping bag fitted with your favorite tip, or just use a zip-top bag with the corner snipped off. Pipe a generous swirl of frosting into the center well of each cooled cookie cup. Don’t skimp here, since the frosting is basically half the appeal.
Step 8: Add Sprinkles for a Festive Finish
Immediately after piping the frosting, sprinkle your Valentine’s Day sprinkles over the top while it’s still soft and tacky. This helps the sprinkles stick without sliding right off. Have you ever tried adding sprinkles to firm frosting? They just bounce off, so timing matters here.
Step 9: Serve and Enjoy
Arrange your finished cookie cups on a platter or in a decorative box for gifting. Serve them fresh for the best texture and that soft, buttery cookie bite. They disappear fast, so maybe hide a few for yourself first 🙂
Serving and Storage Tips
These cookie cups taste best served fresh, right after frosting and decorating them. If you need to store them, keep unfrosted cookie cups in an airtight container at room temperature for up to 3 days. Frost them right before serving whenever possible.
Here’s how to handle storage depending on your timeline:
- Room temperature: up to 3 days, unfrosted works best
- Refrigerator: up to a week if you prefer them chilled
- Freezer: baked and cooled cups keep up to a month, thaw before frosting
- Frosted cups: best eaten within 1 to 2 days for peak freshness
FYI, freezing them unfrosted keeps the texture way better than freezing them fully decorated.
Fun Variations to Try
Once you’ve mastered the basic version, why stop there? Here are a few twists I’ve personally tried and genuinely loved:
- Chocolate Frosting: swap vanilla frosting for chocolate and add chocolate sprinkles
- Strawberry Delight: use strawberry frosting with pink heart-shaped sprinkles
- Red Velvet Cups: swap in red velvet cookie dough with cream cheese frosting
- Salted Caramel Drizzle: add a caramel drizzle right over the frosting
- Peppermint Twist: top with crushed candy cane for a cool, minty finish
My personal favorite twist has to be the strawberry version. Those pink heart sprinkles just feel right for Valentine’s Day, IMO.
Frequently Asked Questions
Can I use homemade cookie dough instead of store-bought? Yes, homemade dough works perfectly and gives you full control over the flavor.
Can I make these cookie cups ahead of time? Absolutely. Bake and cool the cups first, then frost them closer to serving time.
Can I freeze Valentine Sugar Cookie Cups? Yes, freeze them after baking, then thaw completely before adding frosting and sprinkles.
Is a mini muffin pan required for this recipe? It’s strongly recommended, since it creates that perfect small cup shape everyone expects.
Can I use different frosting flavors besides vanilla? Definitely. Chocolate, strawberry, cream cheese, or even peanut butter frosting all work great here.
Can kids help make these cookie cups? Yes, this recipe is simple and fun enough for kids to help assemble and decorate.
Final Thoughts
Valentine Sugar Cookie Cups prove that a treat doesn’t need a dozen ingredients to feel special. A soft cookie base, creamy frosting, and a handful of sprinkles turn into something genuinely festive in under an hour. Whether you’re making these for a classroom party or just treating yourself, they deliver every time.
So, are you team classic vanilla frosting, or ready to try one of those fun variations above? Either way, grab a package of sugar cookie dough and get baking before Valentine’s Day sneaks up on you.
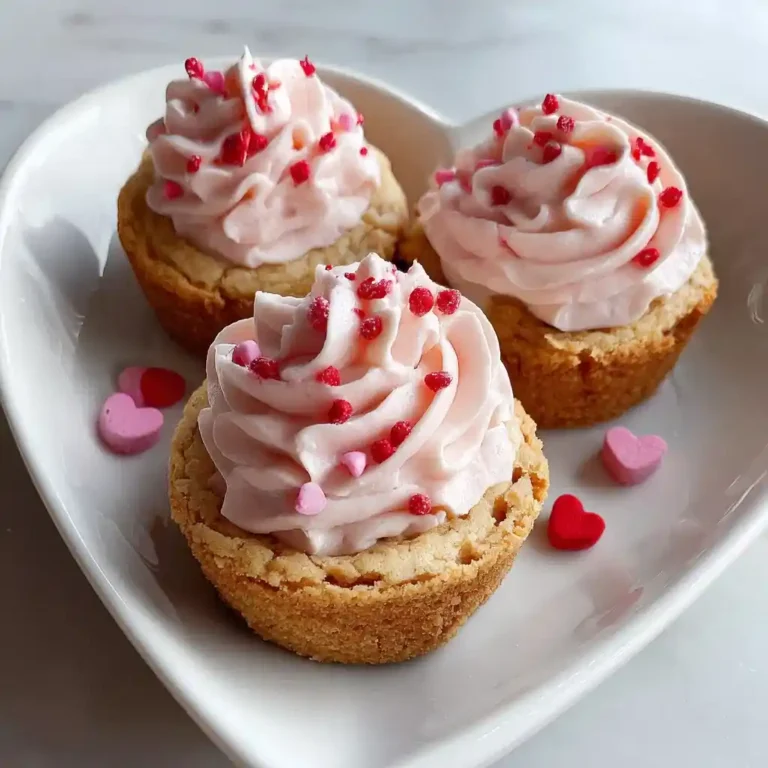
Valentine Sugar Cookie Cups
Ingredients
Method
- Preheat your oven to 350°F and spray a mini muffin pan with non-stick cooking spray.
- Break the sugar cookie dough into individual squares and place one square in each well of the muffin pan.
- Bake for 12 to 14 minutes until the edges turn light golden brown.
- Press the center of each warm cookie with a spoon or shot glass to create a cup shape.
- Allow the cookie cups to cool in the pan for 20 to 30 minutes.
- Gently run a knife around the edges and lift out the cooled cups.
- Spoon vanilla frosting into a piping bag and swirl it into each cooled cookie cup.
- Immediately sprinkle with Valentine's Day sprinkles.
- Arrange the finished cookie cups on a platter and enjoy fresh.




