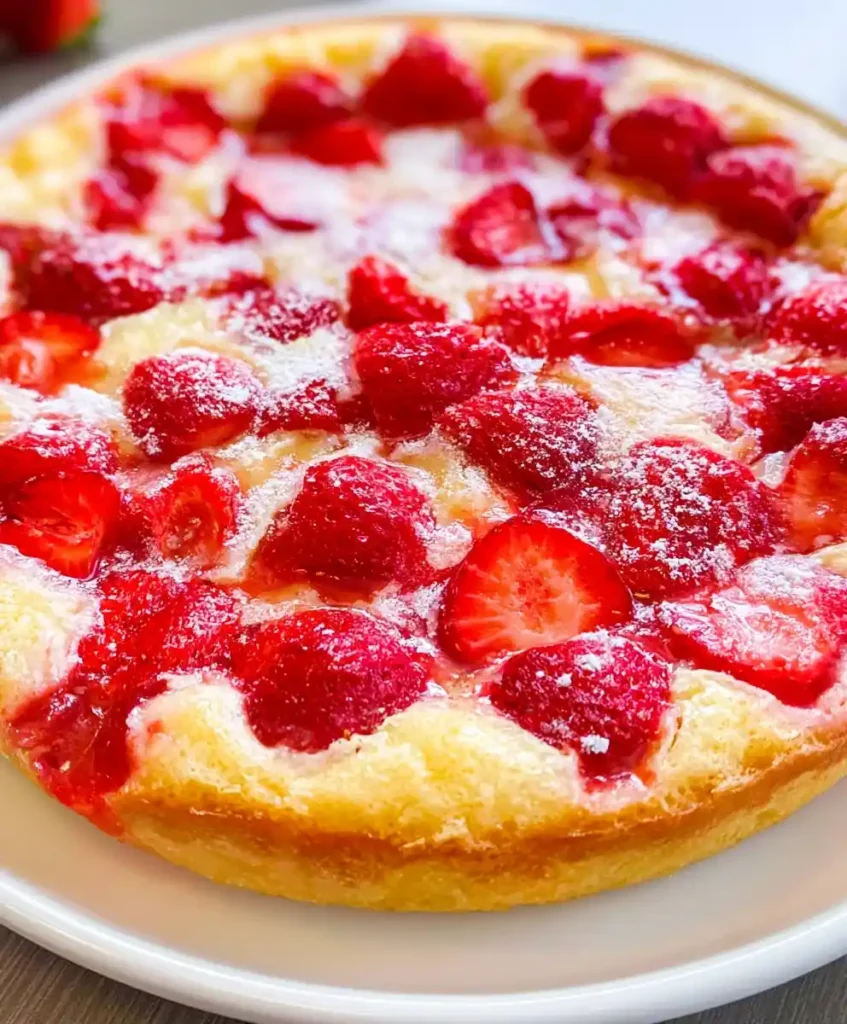
Servings: 8 slices | Prep Time: 15 minutes | Cook Time: 35 minutes | Total Time: 50 minutes
Rolling out pie dough sounds relaxing until you’re standing in flour up to your elbows, cursing a dough that won’t cooperate. This Crustless Fresh Strawberry Pie skips that drama entirely.
No crust, no chilling dough for hours, no fighting with a rolling pin. Just a soft, custardy base studded with juicy strawberries, baked until golden. Sounds too easy, right? IMO, that’s exactly the point.
I started making this pie the summer my oven decided pie crust and I weren’t friends. Turns out, skipping the crust made the whole thing better. Funny how that works out sometimes.
Why This Crustless Fresh Strawberry Pie Deserves a Spot in Your Rotation
Some desserts demand hours of effort for a modest payoff. This one flips that entire equation on its head.
Here’s what makes it worth making again and again:
- Minimal ingredients — everything’s probably already in your kitchen
- No crust-making skills required — zero rolling, zero fuss
- Custard-like texture — it bakes into something between a pie and a clafoutis
- Bursting with strawberries — real fruit flavor in every single bite
Have you ever avoided baking a pie simply because of the crust? Yeah, me too. This recipe removes that excuse completely.
Ingredients You’ll Need
Simple pantry staples plus fresh strawberries do all the heavy lifting here. Nothing fancy, nothing hard to find.
- 1 cup granulated sugar, plus 2 tablespoons for topping
- 1 cup all-purpose flour
- ¼ teaspoon salt
- ½ cup unsalted butter, melted
- 2 large eggs
- 1 teaspoon vanilla extract
- ¼ teaspoon almond extract (optional)
- 3 cups fresh strawberries, hulled and halved
That’s the whole list. No obscure baking ingredients, no trip to a specialty store required.
A Note on Strawberries
Choose ripe, deeply red strawberries for the best flavor. Pale or underripe berries taste watery and bland once baked, and that’s not a fix you can undo later. Fresh really is the way to go here.
How to Make Crustless Fresh Strawberry Pie, Step by Step
Grab your mixing bowls, because this comes together faster than you’d think. Let’s walk through it slowly so every step lands right.
Step 1: Preheat the Oven and Prep Your Dish
Set your oven to 350°F and let it fully heat while you prep everything else. A properly preheated oven matters more than people realize — it’s the difference between an evenly baked pie and a sunken, undercooked mess.
Grab a 9-inch round pie dish and coat it generously with cooking spray or softened butter. This step keeps your finished pie from sticking, which saves you the heartbreak of a slice falling apart on the way out.
Step 2: Whisk Together the Dry Ingredients
In a large mixing bowl, combine the granulated sugar, flour, and salt. Whisk them together until fully blended and no streaks of flour remain visible. This mixture forms the structural backbone of your pie, so don’t rush it.
Set this bowl aside for a moment. You’ll come back to it once the wet ingredients are ready to join the party.
Step 3: Melt the Butter and Mix the Wet Ingredients
Place the butter in a microwave-safe bowl and heat it in short 15-second bursts until fully melted. Keep an eye on it, because unattended butter has a habit of erupting all over your microwave.
Let the melted butter cool for a minute or two so it doesn’t accidentally scramble your eggs. Once cooled slightly, whisk in the eggs, vanilla extract, and almond extract if you’re using it. Keep whisking until the mixture looks smooth and glossy.
Step 4: Combine Wet and Dry Mixtures
Pour the butter and egg mixture into the bowl of dry ingredients. Stir gently with a spatula just until everything comes together — overmixing here makes the texture tough instead of tender.
The resulting batter will be thick, closer to cookie dough than traditional pie filling. That thickness is exactly what you want, since it’s sturdy enough to hold all those strawberries in place.
Step 5: Fold in the Strawberries
Gently fold about two cups of your halved strawberries directly into the thick batter. Stir carefully so the fruit doesn’t get crushed, distributing the berries evenly throughout the mixture.
Spread the batter into your prepared pie dish and smooth the top with a spatula. Arrange the remaining strawberries across the surface, pressing them lightly so they nestle into the batter instead of rolling off during baking.
Step 6: Add the Finishing Touch and Bake
Sprinkle the remaining two tablespoons of sugar evenly over the top of the pie. This small step creates a lightly caramelized, slightly crisp finish once baked, and honestly, it’s worth every extra second.
Slide the pie into your preheated oven and bake for 34 to 39 minutes. Watch for the edges to turn golden and set while the center still holds a slight jiggle — it firms up beautifully as it cools.
Step 7: Cool Completely Before Slicing
Once baked, remove the pie and let it cool completely in the dish, ideally for at least an hour. Slicing too early causes the custardy center to spill out instead of holding its shape.
Patience pays off here. A fully cooled pie slices clean, showing off those beautiful strawberries layered throughout every piece.
Tips for Pie Success
A few small details separate a good pie from a great one:
- Measure the flour and sugar accurately for the right texture
- Bake closer to 34 minutes for a slightly gooier center
- Test doneness with a toothpick — it should come out mostly clean
- Let the pie cool fully before cutting into it
- Store leftovers airtight at room temperature for up to five days
Variations Worth Trying
Once you’ve made the base recipe, feel free to get creative with it. That’s half the fun of a recipe this flexible.
- Gluten-free swap: use a 1:1 gluten-free flour blend instead of all-purpose
- Citrus boost: add lemon or lime zest to the batter for brightness
- Mixed berry version: swap some strawberries for raspberries or blueberries
- Nutty crunch: fold in chopped almonds or walnuts for texture
- Herbal twist: a tablespoon of finely chopped mint pairs surprisingly well
Serving Suggestions
This pie tastes wonderful on its own, but a few simple additions take it up a notch.
- A dollop of freshly whipped cream on each slice
- A scoop of vanilla ice cream melting into the warm pie
- A sprig of mint for a pop of color
- Chilled lemonade or iced tea alongside it
- Extra strawberry slices scattered on top for presentation
Frequently Asked Questions
Can I use frozen strawberries instead of fresh? Yes, though thaw and drain them thoroughly first. Excess liquid from frozen berries can throw off the texture, so fresh strawberries remain the better choice when they’re in season.
How do I store leftover Crustless Fresh Strawberry Pie? Keep it in an airtight container at room temperature for up to five days. Refrigeration works too if you prefer a chilled slice, though the texture firms up a bit more.
Can I make this pie ahead of time? Absolutely. Bake it a day in advance, let it cool fully, then cover and store until you’re ready to serve. It holds up beautifully for gatherings.
Is this recipe suitable for gluten-free diets? Yes, simply swap the all-purpose flour for a 1:1 gluten-free blend. Double-check the blend’s ingredient list if you’re managing other dietary restrictions too.
How do I know when the pie is fully baked? Look for set, lightly golden edges while the center still jiggles slightly. A toothpick inserted near the center should come out clean or with a few moist crumbs.
Final Thoughts
Crustless Fresh Strawberry Pie proves that skipping a step doesn’t mean skipping flavor. It’s quick, it’s forgiving, and it turns a handful of simple ingredients into something genuinely memorable.
Next time you crave pie without the crust-making stress, give this one a shot. Your kitchen will smell like a strawberry patch, and honestly, that alone makes it worth the trip.
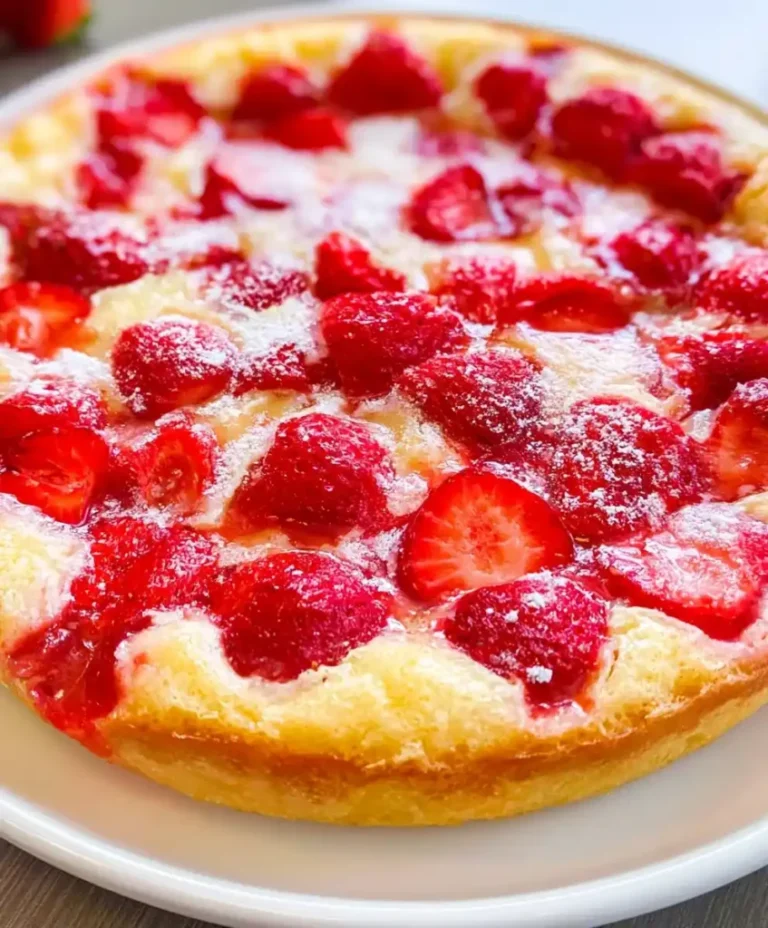
Crustless Fresh Strawberry Pie
Ingredients
Method
- Preheat the oven to 350°F (175°C) and prepare a 9-inch round pie dish by coating it with cooking spray or softened butter.
- In a large mixing bowl, whisk together the granulated sugar, flour, and salt until fully blended.
- Melt the butter in a microwave-safe bowl in 15-second bursts. Allow it to cool slightly before whisking in the eggs, vanilla, and almond extract until smooth.
- Pour the butter and egg mixture into the dry ingredients and stir gently until just combined.
- Fold in two cups of the halved strawberries, being careful not to crush them.
- Spread the batter into the prepared pie dish and arrange the remaining strawberries over the top, pressing them lightly into the batter.
- Sprinkle the remaining two tablespoons of sugar over the top of the pie.
- Place the pie in the preheated oven and bake for 34 to 39 minutes, checking for golden edges and a slight jiggle in the center.
- Once baked, remove the pie and allow it to cool completely before slicing, ideally for at least one hour.



