Why This Pound Cake Deserves Its Name
Have you ever taken one bite of something so good it made you want to react physically? That’s exactly what this Slap Ya Mama Pound Cake does to people. The name says it all.
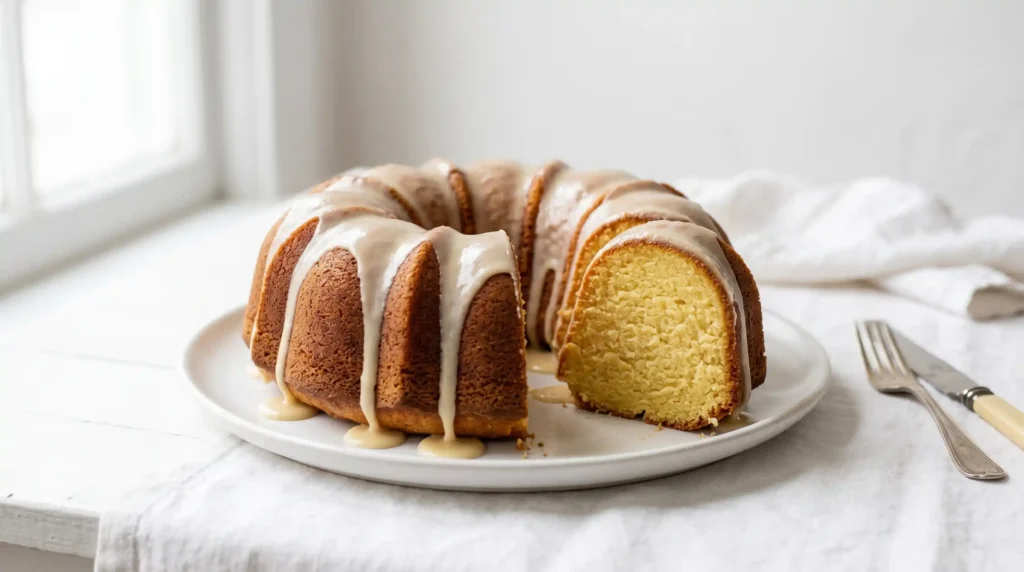
This isn’t your average store-bought pound cake wrapped in plastic. This is a dense, buttery, golden masterpiece that you pull out of a Bundt pan and just stare at for a second before glazing it into oblivion.
IMO, pound cake is one of the most underrated Southern desserts. People go nuts over fancy layer cakes and cupcakes, but this right here? This is the one people keep asking for at every family gathering.
Let’s get into it. Here’s everything you need to know to make this cake absolutely perfect from the first try.
Ingredients You Will Need
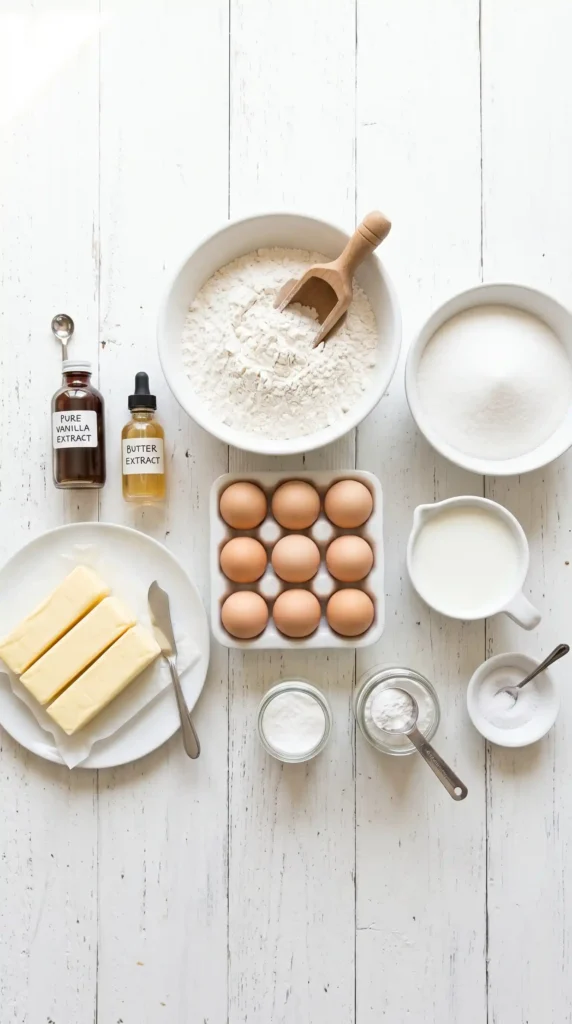
Good baking starts with good ingredients. Nothing fancy here — just honest, real ingredients that do the heavy lifting.
For the Pound Cake
- 3 cups all-purpose flour
- 1/2 tsp baking powder
- 1/2 tsp salt
- 1 cup (2 sticks) unsalted butter, softened
- 1/2 cup vegetable shortening
- 3 cups granulated sugar
- 6 large eggs, at room temperature
- 1 cup whole milk or buttermilk
- 1 tbsp pure vanilla extract
- 1 tsp butter extract (optional — but seriously, use it)
For the Creamy Vanilla Glaze
- 2 cups powdered sugar, sifted
- 3–4 tbsp whole milk or heavy cream
- 1 tsp vanilla extract
- 1 tbsp melted unsalted butter
Optional Toppings
- Toasted coconut flakes for texture
- White chocolate drizzle for extra richness
- Light powdered sugar dusting for a classic finish
Room-temperature matters. Pull your butter, eggs, and milk out of the fridge about 45 minutes before you start. Cold butter won’t cream properly, and cold eggs can cause the batter to break. This one step changes everything.
How to Make Slap Ya Mama Pound Cake — Step by Step
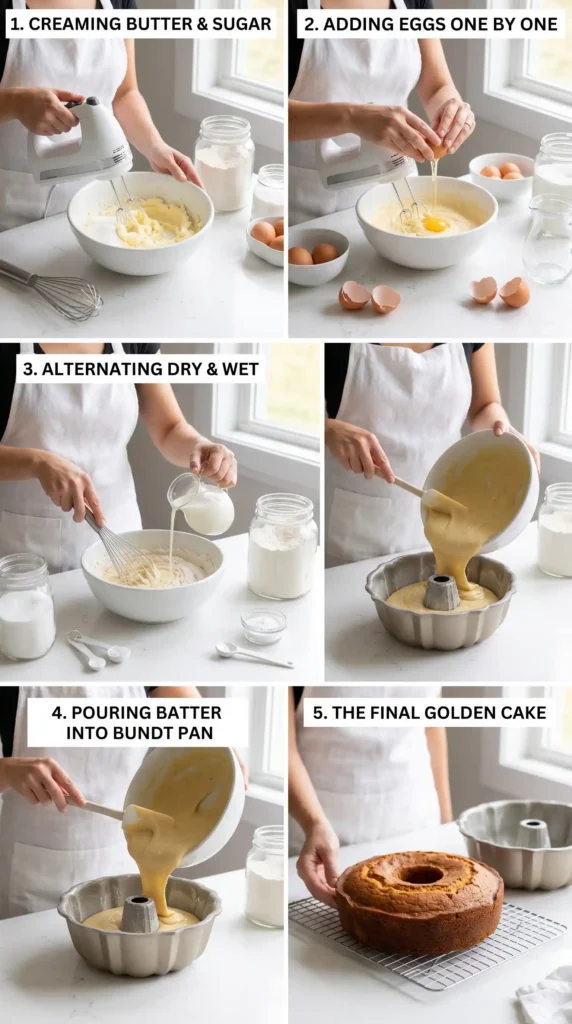
Follow these steps carefully and you’ll end up with a cake that genuinely makes people ask, “What did you put in this?!” The process is simple, but the details matter.
Step 1: Preheat and Prepare Your Pan
Set your oven to 325°F (163°C). This low-and-slow temperature is key — it lets the center cook through without the outside getting too dark. Generously grease every inch of your Bundt or tube pan with softened butter, then dust it lightly with flour and tap out the excess. Don’t rush this step or your cake will stick.
Step 2: Whisk Together the Dry Ingredients
In a medium bowl, whisk together the 3 cups of flour, 1/2 tsp baking powder, and 1/2 tsp salt until evenly combined. Set this bowl aside. Whisking the dry ingredients together first means the baking powder and salt distribute evenly throughout the entire batter — no weird salty or dense pockets.
Step 3: Cream the Butter, Shortening, and Sugar
This is the most important step in making a light, tender pound cake. Using a stand mixer or hand mixer, beat together the 1 cup of softened butter and 1/2 cup shortening on medium speed for about 2 minutes. Then add the 3 cups of granulated sugar gradually and beat for 5 full minutes until the mixture looks pale, fluffy, and almost cloud-like. Don’t skip this time — that air is what gives the cake its texture.
Step 4: Add the Eggs One at a Time
Crack in one egg at a time, mixing on low speed for about 30 seconds after each one before adding the next. All 6 eggs need to be fully incorporated individually. Adding them all at once can make the batter look curdled and the final texture will suffer. Take your time here — the batter should look smooth and cohesive at every stage.
Step 5: Alternate the Dry Ingredients and Milk
Starting and ending with the flour mixture, alternate adding the dry ingredients and the 1 cup of whole milk or buttermilk in three rounds each. Add about one-third of the flour, mix gently, then half the milk, mix, then another third of flour, the remaining milk, then the last of the flour. Mix only until just combined after each addition — do not overmix. Overmixing develops gluten and makes the cake tough instead of tender.
Step 6: Add the Extracts and Finish the Batter
Stir in the 1 tbsp vanilla extract and, if you’re using it, the 1 tsp butter extract. Fold these in gently with a spatula. The butter extract adds a warm, almost caramel-like flavor that makes people swear there’s something magical in this cake. Give the batter one or two gentle folds with a rubber spatula to make sure everything from the bottom of the bowl is incorporated.
Step 7: Pour and Bake
Pour the batter evenly into your prepared Bundt or tube pan. Tap the pan gently on the counter two or three times to pop any air bubbles sitting near the surface. Place it in the center rack of your preheated oven and bake for 1 hour 20 minutes to 1 hour 30 minutes. Around the 1-hour mark, check for browning. If the top looks very dark but the inside isn’t done, loosely tent it with foil for the remaining time.
Step 8: Check for Doneness and Cool
Insert a long toothpick or skewer into the thickest part of the cake. It should come out clean with no wet batter clinging to it. Let the cake cool in the pan on a wire rack for exactly 15 minutes — not more, not less. Then carefully run a butter knife around the edges and center tube before inverting it onto the rack. Let it cool completely before glazing. Glazing a warm cake makes the glaze run off instead of coating.
Step 9: Make the Glaze and Drizzle Away
In a bowl, whisk together the 2 cups of sifted powdered sugar, 1 tbsp melted butter, 1 tsp vanilla extract, and 3 tablespoons of milk. Whisk until completely smooth. Add the 4th tablespoon of milk only if you want a thinner, more pourable consistency. Spoon the glaze slowly over the top of the cooled cake, letting it drip naturally down the ridges. If you want a thicker coating, do two layers — let the first set for 10 minutes before adding the second.
Tips That Actually Make a Difference
Ever wonder why your cake looks great but doesn’t have that incredible soft bite? These tips close the gap between a good pound cake and a great one.
Baking Tips
- Use room-temperature ingredients throughout — butter, eggs, and milk all need to be at about 65–70°F for the batter to emulsify properly.
- Cream butter and sugar for the full 5 minutes — set a timer if you need to. Cutting this short results in a denser, heavier cake.
- Never open the oven door before the 1-hour mark — sudden temperature drops cause the center to sink.
- Buttermilk adds a subtle tang and extra moisture — use it if you can. If you don’t have any, add 1 tbsp white vinegar to regular milk and let it sit for 5 minutes.
- This cake tastes even better the next day — the butter flavor deepens and the texture gets even more moist overnight. Store it covered at room temperature.
Variations Worth Trying
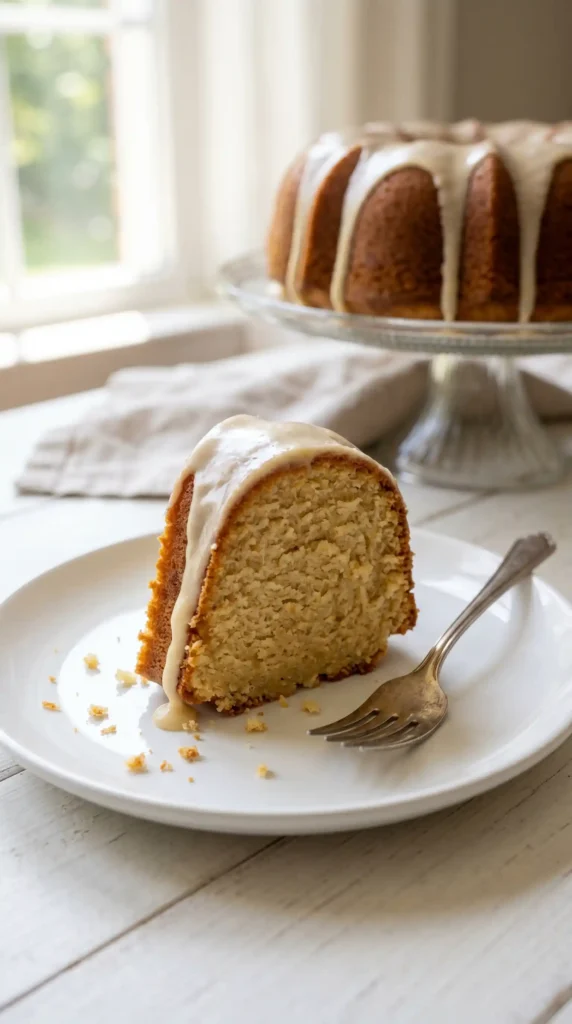
The base recipe is already incredible, but why not experiment? 🙂 Here are a few ways to take this Slap Ya Mama Pound Cake in different directions.
- Cream cheese version: Replace the 1/2 cup of shortening with 4 oz softened cream cheese. It adds a subtle tang and keeps the cake moist for days.
- Coconut pound cake: Swap the vanilla extract for coconut extract and fold in 1/2 cup of sweetened shredded coconut into the batter.
- Lemon glaze variation: Replace the milk in the glaze with fresh lemon juice and add 1 tsp lemon zest. Bright and refreshing.
- Serve with fruit: Fresh strawberries, peach slices, or blueberry compote alongside a slice is honestly unbeatable in summer.
- Pecan crunch top: Sprinkle 1/2 cup of finely chopped toasted pecans over the glaze while it’s still wet for a little crunch.
Frequently Asked Questions
Can I use salted butter instead of unsalted?
You can, but the recipe already calls for 1/2 tsp of salt in the dry ingredients. Using salted butter on top of that can make the cake noticeably salty. If salted butter is all you have, skip the added salt in the dry ingredients and you should be fine.
Why did my pound cake sink in the middle?
The most common culprit is opening the oven door too early, underbaking, or overmixing the batter. Make sure you hit the full bake time and confirm doneness with a toothpick before pulling it out. Also, opening the oven before the 60-minute mark can cause the center to collapse.
Can I make this cake ahead of time?
Absolutely — and FYI, it actually gets better after a day. Bake the cake completely, let it cool, and store it unglazed wrapped in plastic wrap at room temperature for up to 2 days. Glaze it fresh before serving for the best presentation.
Can I freeze this pound cake?
Yes! Freeze it without the glaze. Once completely cooled, wrap the whole cake (or individual slices) tightly in plastic wrap and then in foil. It keeps beautifully in the freezer for up to 3 months. Thaw it overnight at room temperature and glaze it fresh before serving.
What if I don’t have a Bundt pan?
A tube pan works just as well and is the traditional choice. You can also bake this in two standard 9×5 loaf pans — reduce the bake time to around 60–70 minutes and start checking early. The loaf shape is less dramatic but tastes identical.
How do I know when the creaming step is done?
The butter and sugar mixture should look visibly lighter in color — almost white or pale yellow — and feel noticeably fluffy compared to when you started. If it still looks dense and grainy after a couple minutes, keep going. That fluffy texture is what separates a truly great pound cake from a mediocre one.
The Final Word on This Cake
This Slap Ya Mama Pound Cake is one of those recipes that never gets old. Whether you’re making it for a holiday, a Sunday dinner, or honestly just a random Tuesday when you need something to be happy about, it delivers every single time.
The combination of butter and shortening gives it that perfectly rich texture. The vanilla glaze adds just enough sweetness without being over the top. And the fact that it tastes even better the next day? :/ Dangerous, honestly.
Don’t overthink it. Just follow the steps, don’t rush the creaming, and trust the process. Once you pull this cake out of the pan and glaze it up, you’ll understand exactly how it earned that name.