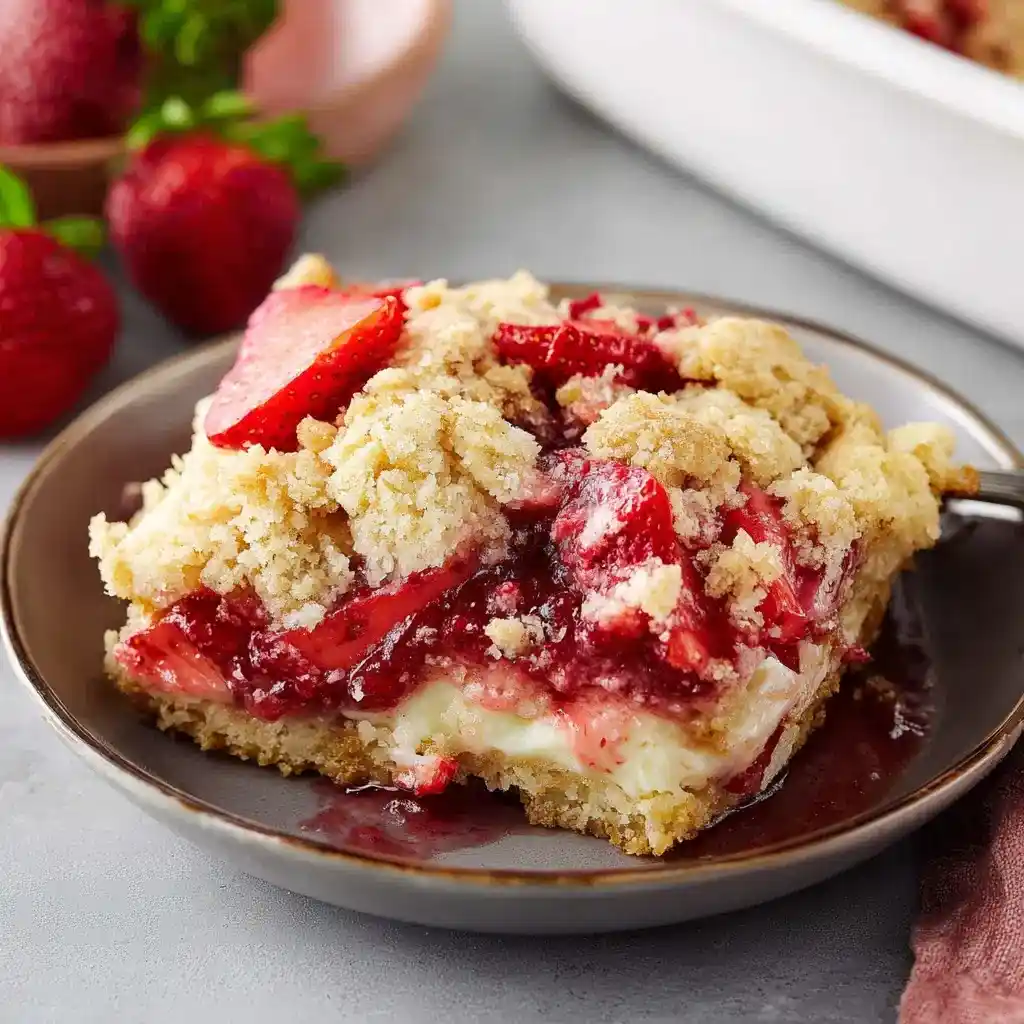
Want a dessert that tastes like you spent hours in the kitchen when you actually spent fifteen minutes? Strawberry Cheesecake Dump Cake pulls off exactly that trick, no baking degree required.
I made this the first time for a potluck where I had zero energy left to decorate anything fancy. It disappeared before the main dishes even got touched.
Servings: 12 Prep time: 15 minutes Bake time: 40-45 minutes Total time: about 65-70 minutes, including rest time
Why This Dump Cake Deserves a Spot in Your Recipe Box
Ever notice how the best desserts often require the least effort? This one layers sweet strawberries, a creamy cheesecake mixture, and buttery cake topping without a single fancy technique involved.
There’s no mixer marathon, no water bath, and no stressing over cracks in your cheesecake. IMO, that alone makes this recipe worth keeping on repeat for busy weeks.
The name says it all, too. You basically dump ingredients into a dish, and the oven handles the rest of the magic.
What You’ll Need
Seven ingredients get this whole dessert off the ground, and most of them likely live in your kitchen already.
- strawberry pie filling – 42 ounces
- cream cheese, softened – 8 ounces
- sour cream – ¼ cup
- powdered sugar – ½ cup
- vanilla extract – 1 teaspoon
- white cake mix – 15.25 ounces
- salted butter, cold – 1 cup
That’s the whole list. No fancy pans, no water bath, and no complicated prep before you even get started.
How to Make Strawberry Cheesecake Dump Cake
Let’s slow this down and go through each layer properly, since the order really does matter here.
Step 1: Preheat and Prep Your Dish
Turn your oven on and set it to 350°F so it’s fully ready by the time your layers come together. Grab a 9×13-inch baking dish and set it on your counter.
You don’t need to grease the dish for this recipe, since the butter layer handles that job later. Just have everything within reach before you start layering.
Step 2: Spread the Strawberry Layer
Pour the strawberry pie filling directly into your baking dish. Use a spatula to spread it evenly across the entire bottom so every bite gets fruit.
This layer becomes the sweet, jammy base that holds everything else together once baked. Don’t skip smoothing it out, since uneven layers bake unevenly too.
Step 3: Make the Cheesecake Mixture
Grab a mixing bowl and add your softened cream cheese first. Softened is key here, or you’ll fight lumps the entire time you’re stirring.
Add the sour cream, powdered sugar, and vanilla extract into the same bowl. Mix everything until it turns smooth, creamy, and completely free of lumps.
Step 4: Layer the Cheesecake Mixture
Use a spoon to drop dollops of the cheesecake mixture over the strawberry layer. Space them out across the dish instead of concentrating them all in one spot.
Have you ever wondered why dump cakes skip full mixing between layers? That’s intentional, since distinct layers create the best texture contrast once everything bakes.
Resist the urge to smooth this layer out completely. Some gaps between dollops actually help the cake mix bake properly on top.
Step 5: Add the Dry Cake Mix
Sprinkle the dry white cake mix evenly across the entire surface of your dish. Cover every visible bit of strawberry and cheesecake mixture you can see.
This step feels a little weird since you’re adding a completely dry layer on top of wet ingredients. Trust the process here, because the butter handles the rest.
Step 6: Cover With Butter
Slice your cold butter into thin, even pats. Cold butter matters here, since it melts slowly and creates that golden, slightly crisp topping everyone fights over.
Arrange the butter pats across the entire surface of the dry cake mix. Try to cover as much area as possible, since any exposed dry mix won’t bake properly.
Step 7: Bake Until Golden
Slide your dish into the preheated oven and bake for 40-45 minutes. Watch for the top to turn deep golden brown with bubbling edges around the sides.
Your kitchen will smell like a bakery about halfway through, which is honestly the best part of the whole process.
Step 8: Let It Rest
Pull the dish out once it looks golden and bubbly throughout. Let it rest for about 15 minutes before serving, since it needs time to set slightly.
Skipping this step usually means a runnier slice, so patience pays off here even when the smell makes waiting genuinely difficult.
Tips for Getting This Dump Cake Right Every Time
A few small habits make a noticeable difference in how this dessert turns out.
- Use cold butter, never softened, for the crispiest, most golden topping.
- Cover the dry cake mix completely with butter to avoid dry patches.
- Let the cake rest before serving for cleaner, less runny slices.
- Don’t mix the layers together, since separation creates the signature texture.
Storage and Reheating
Got leftovers? Store them covered in the refrigerator for up to 4 days without losing much quality.
Reheat individual portions in the microwave for 20-30 seconds to bring back that gooey, warm texture. Want it firmer instead? Serve it chilled straight from the fridge.
Freezing works too, so wrap leftovers tightly and freeze for up to 2 months. Thaw overnight in the refrigerator before reheating for the best results.
Fun Variations to Try
Once you’ve nailed the base recipe, swapping ingredients keeps things interesting for future batches.
- Blueberry version: replace strawberry filling with blueberry pie filling for a different fruit base.
- Cherry version: use cherry pie filling for a tart, bold flavor.
- Mixed berry version: combine strawberry, blueberry, and raspberry fillings for variety.
- Chocolate strawberry version: sprinkle chocolate chips over the cheesecake layer before adding cake mix.
- Oreo version: crush Oreos over the dry cake mix for extra crunch.
Why stick with one fruit flavor when swapping pie fillings takes zero extra effort?
FAQs
Can I use fresh strawberries instead of pie filling? Yes, just cook them down with sugar and cornstarch first to create a similar thick, jammy texture.
Why did my dump cake turn out dry? The butter likely didn’t cover the entire cake mix surface, leaving some dry patches that never baked properly.
Can I use low-fat cream cheese? Yes, though the finished texture turns out slightly less creamy compared to full-fat cream cheese.
Do I need to mix the layers together? No, keeping the layers separate is exactly what creates this dessert’s signature texture and appearance.
Should I refrigerate this dump cake after baking? Yes, refrigeration is necessary because of the cream cheese layer inside the dessert.
Can I make this ahead of time? Absolutely. Many people find it tastes even better after chilling overnight in the refrigerator.
Final Thoughts
Strawberry Cheesecake Dump Cake proves that dessert doesn’t need complicated steps to taste incredible. Sweet strawberries, creamy cheesecake filling, and a buttery golden topping come together with almost no effort on your part.
FYI, this recipe has bailed me out of more than one last-minute dessert emergency Give it a try this weekend and see how fast it disappears from the pan.
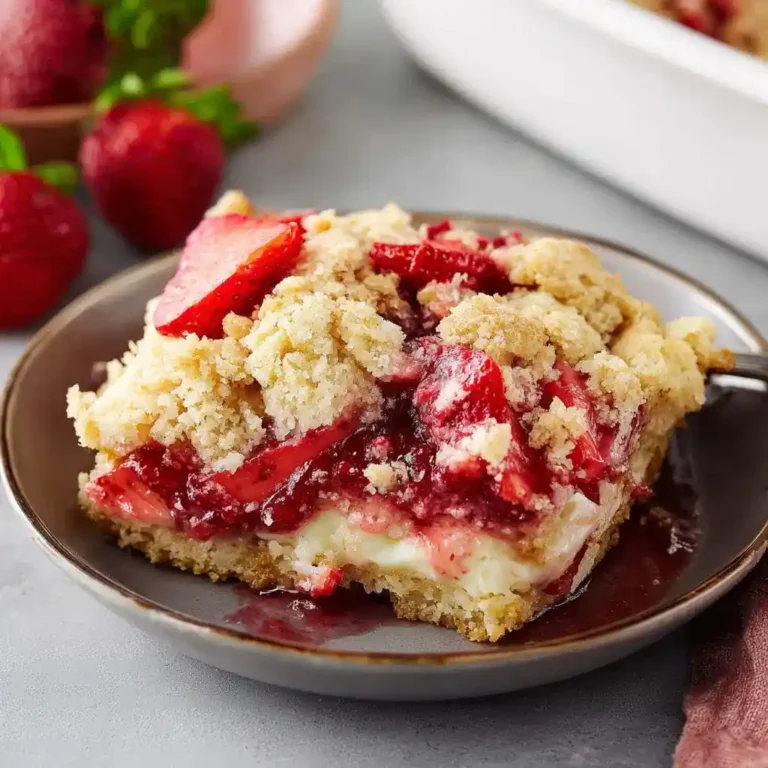
Strawberry Cheesecake Dump Cake
Ingredients
Method
- Preheat the oven to 350°F (175°C) and prepare a 9x13-inch baking dish.
- Pour the strawberry pie filling into the baking dish and spread it evenly across the bottom.
- In a mixing bowl, combine softened cream cheese, sour cream, powdered sugar, and vanilla extract. Mix until smooth and creamy.
- Dollop the cheesecake mixture over the strawberry layer, spacing out the dollops.
- Sprinkle the dry cake mix evenly over the cheesecake layer.
- Cover the dry cake mix with cold butter pats, ensuring an even distribution.
- Bake for 40-45 minutes, until golden brown and bubbling.
- Remove from oven and let it rest for 15 minutes before serving.




